
Last updated October 16, 2026
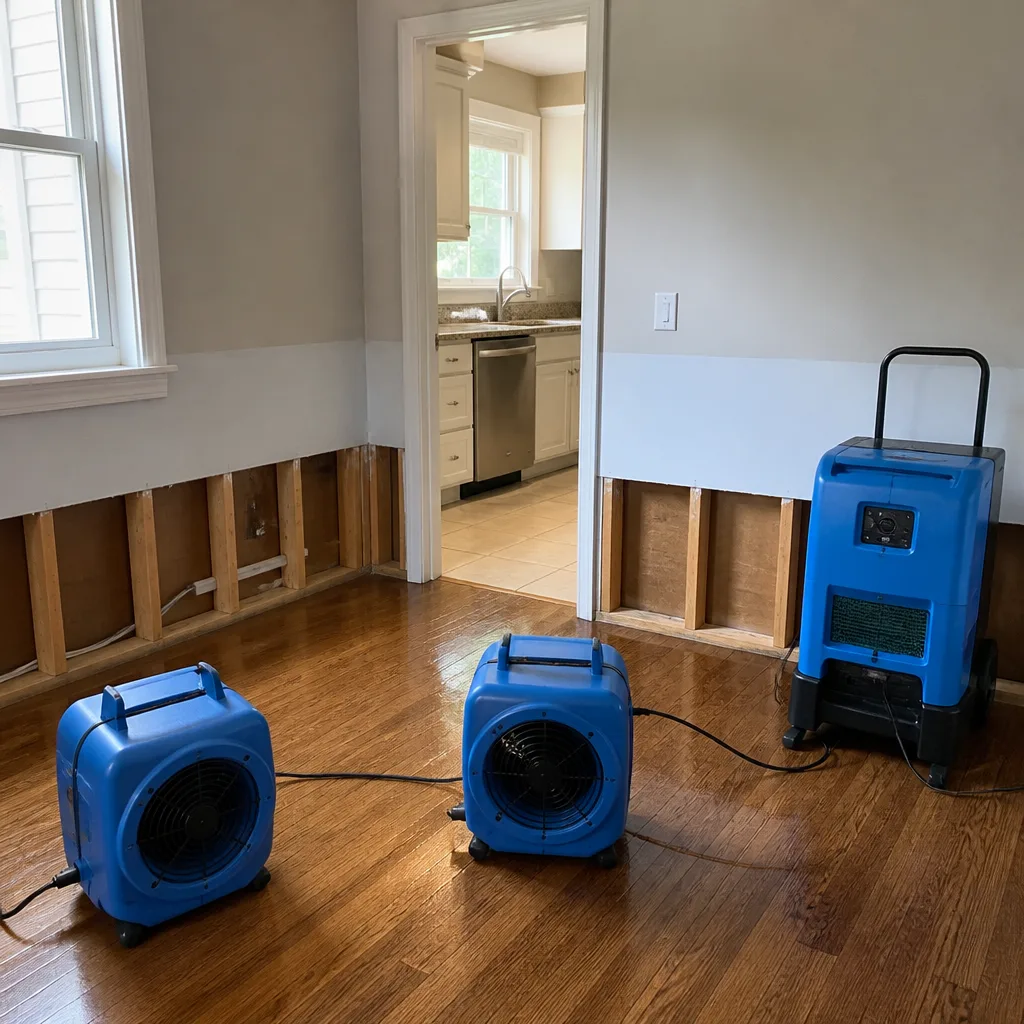 Water damage drying
 Fire & smoke cleanup
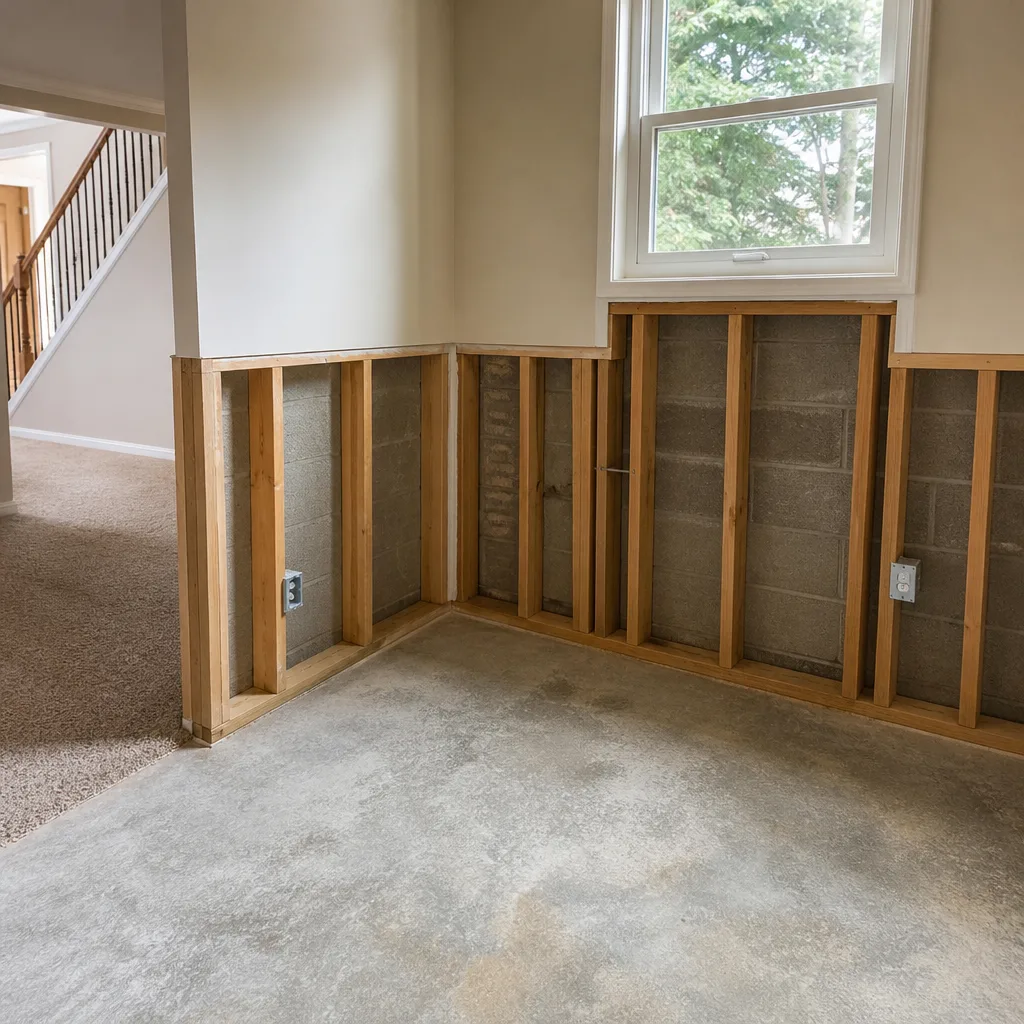 Mold remediation
 Storm response
 Sewage cleanup
 Reconstruction
Free visual inspection and a written scope of work before any mitigation begins - photos, moisture readings, and drying logs go in your claim file
The scope we write is the scope we bill. Anything new gets shown to you, in writing, before we touch it.
Get your free estimateDIY vs Professional Damage Restoration: The Austin Homeowner’s Decision Guide
The hardware store dehumidifier you rented pulls about 70 pints of water from the air per day. The unit a professional restoration crew rolls into your Austin living room pulls 300 or more. That gap doesn’t sound dramatic until you do the math: in August, when Austin’s relative humidity sits above 70 percent for weeks at a time, a 70-pint machine can take three weeks to dry a single water-damaged wall cavity, while a professional low-grain refrigerant unit finishes in three days. The difference is not the machine. It’s what grows inside the wall during those extra two and a half weeks. This guide lays out exactly when a capable Austin homeowner can handle water damage without help, and when calling a professional is the only decision that doesn’t create a second, hidden disaster. We’ll give you real numbers, real equipment specs, and the thresholds nobody else puts in writing.
Quick Answer
DIY water damage restoration in Austin makes sense when the affected area is under 10 square feet, the water came from a clean source, and you start drying within 24 hours. It stops making sense the moment any one of those three conditions fails, because Austin’s humidity turns slow drying into mold growth behind walls within days. Professional restoration costs more upfront but prevents the $1,500 to $8,000 mold remediation that follows most “successful” DIY drying jobs in this climate.
Restoration work we handle
Table of Contents
- The Three Thresholds: When DIY Becomes a Gamble
- What You Can Rent vs. What Professional Restoration Actually Deploys
- The Hidden Cost of Incomplete DIY Drying in Austin’s Climate
- What You Can Legitimately Do Yourself (Without Making It Worse)
- How Texas Insurance Adjusters View DIY Restoration Attempts
- Common Mistakes to Avoid
- When to Call a Professional
- Frequently Asked Questions
The Three Thresholds: When DIY Becomes a Gamble
In our experience responding to hundreds of Austin water damage calls, the DIY-versus-professional question is rarely about how handy the homeowner is. We’ve met skilled builders who made the right call and first-time homeowners who didn’t, and the outcomes had nothing to do with competence. The decision comes down to three concrete thresholds. Cross any one of them, and amateur remediation goes from “reasonable” to “likely to create a bigger problem than the original event,” as water damage restoration in Austin requires conditions most rentals can’t achieve.
Threshold 1: More than 10 square feet of affected material. The EPA’s own flood cleanup guidance uses 10 square feet as a rough breakpoint, and it’s a good one. Under that, a homeowner can remove and replace a section of baseboard or drywall with basic tools. Over that, you’re now managing moisture across multiple building materials, each drying at different rates. A 40-square-foot section of saturated drywall doesn’t dry evenly with a hardware store fan pointed at it. The studs behind it stay damp while the surface looks dry, and you won’t know until the smell starts.
Threshold 2: Any Category 2 or Category 3 water source. The restoration industry classifies water in three categories. Category 1 is clean water from a supply line or faucet. Category 2 – called “gray water” – carries significant contamination: washing machine discharge, dishwasher overflow, toilet water with no solid waste. Category 3 is “black water”: sewage backups, river or flood water, anything that has touched the ground outside. If the water in your home was Category 2 or 3, DIY drying is not a drying job. It’s a sanitation job. The water is a biohazard, and drying it just desiccates the contaminants into your drywall, where they become airborne dust later.
Threshold 3: More than 24 hours of standing water or saturation. Mold germination in drywall and wood begins in 24 to 48 hours under favorable conditions. In Austin, conditions are favorable most of the year. If you return from a weekend trip to find water that’s been sitting since Friday night, you’re already inside the germination window. Drying it yourself means racing a biological clock with equipment that can’t keep up.
Cross one threshold, and a cautious person could still proceed with careful documentation and realistic expectations. Cross two, and you’re actively increasing the total cost of the event. Cross all three – a sewage backup that covered a bathroom and hallway while you were away – and calling a professional is not an option; it’s the only move that doesn’t guarantee mold.
What You Can Rent vs. What Professional Restoration Actually Deploys
Let’s put real numbers behind the equipment gap, because “professional equipment is better” doesn’t help anyone make a decision. Here’s what you can rent from a big-box hardware store in Austin versus what a restoration crew brings.
Rental-Grade Equipment (Home Depot / Lowe’s)
- Dehumidifier: Typical rental units pull 50 to 70 pints per day at AHAM conditions (80°F, 60% relative humidity). At Austin’s actual summer conditions (85°F plus, 70-80% RH), real-world extraction drops significantly. These are refrigerant dehumidifiers, not low-grain refrigerant units, and they’re built for managing damp basements, not saturated drywall.
- Air mover: Rental floor fans move 1,500 to 2,000 CFM on high. They’re not designed for directed drying, and they don’t create the laminar airflow that lifts moisture from wall cavities.
- Moisture meter: Some stores rent basic pin-type meters. Most homeowners skip this entirely, which means they’re drying blind and stopping when the surface “feels dry.”
Professional Restoration Equipment
- Low-grain refrigerant (LGR) dehumidifiers: 300 to 700 pints per day, specifically engineered to keep pulling moisture when relative humidity drops below 40 percent – the zone where rental units shut off and stop working while your wall is still wet behind the drywall.
- Desiccant dehumidifiers: Used for severe saturation and capable of bringing RH down to 10 percent or lower, regardless of temperature. These get deployed when standard drying stalls.
- Directed air movers with focusing technology: 2,500 to 4,000 CFM at high velocity, positioned to create laminar airflow across wet surfaces and into cavities via Injectidry-style systems that pull air through wall interiors.
- Thermal imaging and penetrating moisture meters: Non-invasive meters read moisture content behind drywall without cutting holes. We know a wall is dry at 10 to 12 percent moisture content, not because it feels dry to the touch.
- HEPA air scrubbers: For Category 2 and 3 water events, these capture airborne contaminants during drying. Nothing in the rental aisle does this.
The honest summary: a $200 weekend rental handles a damp patch. It cannot dry wall cavities, cannot sanitize contaminated water, and cannot confirm when drying is complete. The professional-grade machines we run – built to IICRC drying standards – are the same class of equipment used to dry commercial buildings after major water events. The difference is measurement and verification, not just bigger fans.
The Hidden Cost of Incomplete DIY Drying in Austin’s Climate
Here’s the part most guides skip. The bill for “successful” DIY drying in Austin arrives 30 to 90 days later, and it’s a mold remediation quote for $1,500 to $8,000 depending on how far the colony spread.
What happens is predictable. It dripped behind a wall in early summer. The dehumidifier ran for a week. You touched the drywall, it felt dry, so you threw a coat of primer on it and moved back in. Six weeks later, the house has an odor in that room. You pull off a section of drywall and find black or brown growth behind the wall, on the backside of the paper face, on the stud faces. The surface dried; the cavity didn’t.
Austin’s climate is the accelerant. The city averages over 34 inches of rain a year, but it’s the humidity that matters. From May through October, outdoor relative humidity commonly sits above 60 percent, which means the air itself is bringing moisture back into your structure while you’re trying to remove it. A rental dehumidifier fighting Austin ambient humidity without a proper vapor barrier and contained drying setup is like bailing water from a boat while it’s still raining. Professional drying works because it doesn’t just remove water; it controls the indoor environment – usually by sealing the affected area, managing temperature, and continuously monitoring RH with real-time meters. The goal is not “mostly dry.” The goal is the original moisture content, documented.
Once mold colonizes behind a wall, it doesn’t stay behind the wall. Spores circulate through your HVAC system. You’re no longer drying; you’re remediating, and you’re doing it inside the lived-in part of your home. Professional mold remediation in Austin generally runs between $1,500 and $8,000 depending on scale and structural access. That range is the hidden cost of incomplete DIY drying. It’s the cost you didn’t budget for, the one that arrives after you already bought the dehumidifier and the fan.
In our experience, the majority of mold remediation calls we get in Austin neighborhoods like Circle C, Mueller, and Crestview trace back to a water event that was “handled” weeks or months earlier. Carlisle Brandt, our owner, has a saying for this: “The drywall always tells the truth.”
What You Can Legitimately Do Yourself (Without Making It Worse)
None of this means you’re helpless while you wait for a professional. There’s a meaningful list of actions that reduce the total cost and complexity of the job, and doing them doesn’t interfere with professional drying or your insurance claim. The key distinction is this: you’re not drying the structure. You’re removing what can be removed and documenting what can’t.
- Stop the source immediately. Shut off the water at the fixture or the main. If it’s a leaking appliance, cut power to that appliance at the breaker. If the source is sewage, don’t enter the area without protective gear. Stopping the source is the single highest-value action any homeowner can take, and it applies in every scenario.
- Remove contents from the affected area. Furniture, rugs, boxes, books, electronics, clothing. Move them to a dry area and sort: salvageable, trash, and “let the professional evaluate.” For Category 1 water, many porous materials can be dried and kept. For Category 2 or 3, porous contents are often non-salvageable. Don’t carry contaminated items through clean rooms; set up a staging area.
- Photograph and document everything before you touch it. Wide shots of every affected room. Close-ups of the water line on walls. Every item you move. Every visible damage point. This documentation is your insurance evidence, and adjusters in Texas treat thorough photo documentation as a signal of an organized, credible claim. Take more photos than you think you need.
- Lift furniture legs and draperies off wet surfaces. Wood furniture legs on wet carpet wick moisture upward. Throw them on blocks, foil, or plastic. Pin back draperies and skirts so they aren’t touching the wet floor.
- Remove excess water with a wet-dry vacuum. For standing water on hard surfaces, this is straightforward and helpful. For carpet, vacuuming pulls surface water but doesn’t extract the pad underneath, which is usually where the real saturation lives. Do it anyway; it reduces the total moisture.
- Do NOT cut into walls or pull up carpet without professional guidance. If Category 2 or 3 water is involved, cutting drywall releases contaminated fibers and spores into the air. If you’re filing an insurance claim, removing building materials before the adjuster documents them can reduce your payout. Document first, remove later.
If a professional crew is coming, leave the drying equipment placement to them. Adding your own hardware store dehumidifier can interfere with the pressure differentials of a proper drying setup – a factor that matters when the company guaranteeing the work is measuring moisture levels against a written drying plan.
How Texas Insurance Adjusters View DIY Restoration Attempts
Texas homeowners insurance policies generally require you to mitigate damage promptly – that’s the “duty to mitigate” clause. It means if a pipe bursts and you do nothing while water spreads for a week, the insurer can reduce or deny the resulting claim. But there’s a big difference between mitigation and restoration, and adjusters know the difference.
What adjusters accept without question: shutting off the water, moving contents, photographing everything, removing standing water, and calling a professional promptly. These actions fulfill your policy obligation. No adjuster has ever penalized a homeowner for shutting off a supply line.
What adjusters scrutinize: DIY construction work – cutting out drywall, pulling carpet and pad, removing baseboard, applying sealants or primers – done before the adjuster has inspected the site. Once building material is gone, the adjuster can’t verify the original damage extent, and the claim is now based on your photos and the adjuster’s informed guess. When those photos are sparse, the guess usually favors the insurer. We’ve seen claims where thoroughly documented DIY drying led to fair payouts, and claims where undocumented demo work before inspection cut the final settlement by thousands.
The documentation that protects you either way: date-stamped photos of the water source, wide and close shots of every affected area before any work, photos of wet materials before removal, a written log of your actions with dates and times, and receipts for any equipment, materials, or professional services. Keep a copy of everything. If you’re going to attempt DIY drying on a small, clean-water event, treat the documentation like the actual job, because in the eyes of Texas insurance law, it kind of is.
If a professional handles the drying, the insurance question gets simpler. Your claim includes the restoration invoice, and the restoration company produces a drying log with moisture readings documenting that the property was returned to appropriate moisture content. That log is hard for an adjuster to challenge because it’s objective evidence generated by calibrated instruments, not the homeowner’s judgment. When you call Dryden Restoration Austin home for water or fire events, that documentation is part of what we provide on every job.
Common Mistakes to Avoid
- Stopping when the surface feels dry. Austin’s climate means the outer layer of drywall can feel bone-dry while the cavity behind it is still at 25 percent moisture content. The moisture meter is the only reliable endpoint, and most rental stores don’t push it because most DIYers don’t ask.
- Using bleach to “kill mold” before the area is dry. Bleach is discouraged even by the EPA for mold on porous surfaces. It doesn’t penetrate drywall or wood, and it adds moisture to the very materials you’re trying to dry. If mold is visible, the area needs proper containment and removal, not a bottle of Clorox.
- Cutting into walls without discussing it with your adjuster. Removal of evidence before inspection is the fastest way to shrink your policy payout in this state. Call your insurer first, document everything, then touch material.
- Sealing off a room too aggressively. Some DIY guides recommend closing doors and windows to “contain” the area. Without a dehumidifier sized to the space and air movement, you’re creating a sauna. The moisture rises, condensation forms on every surface, and you’ve made the problem worse.
- Running your central HVAC during a water event. The system circulates air house-wide. If the wet area isn’t isolated, you’re spreading moisture – and potentially mold spores, if the event is old – into every room. Professional drying either seals off the affected area or leverages the HVAC system deliberately.
- Underestimating Austin’s humidity in any season. Even in January, when Austin gets its rare dry spells, a closed-up house with saturated drywall holds enough moisture for mold if drying is slow. This isn’t a summer-only problem.
- Assuming a small stain means a small problem. A water stain on the ceiling is the bottom of the pond. The source line could have been leaking into that joist cavity for weeks. The stain is evidence of a bigger system, not the problem itself.
When to Call a Professional
Call when any one of the three thresholds is crossed: more than 10 square feet affected, Category 2 or 3 water, or saturation longer than 24 hours. Call when the water touched electrical outlets, wiring, or the HVAC system. Call when you’re filing an insurance claim and want independent, documented drying data that strengthens your file. Call when the event involves sewage, because that’s a sanitation job with safety implications, not a drying job. Dryden Restoration Austin offers free estimates to homeowners across Austin, and we answer the phone 24 hours a day, 7 days a week. Reach us at (361) 326-2081 and you’ll talk to a live person, not a voicemail queue.
Frequently Asked Questions
Water damage restoration in Austin typically ranges from $1,200 to $5,500 for a small to moderate clean-water event (Category 1, under 100 square feet), with larger or contaminated events running higher. The national average for water damage restoration is around $3,300, and Austin prices track close to that midpoint. Every job from our water damage restoration service includes a written price before any work starts, so the number you’re quoted is the number you pay. Call (361) 326-2081 for a free estimate.
Most Texas homeowners policies cover sudden and accidental water damage, like a burst pipe or an appliance hose failure, but not gradual damage like a slow leak that’s been ongoing for months. Flooding from rivers or storms requires a separate flood insurance policy. For covered events, your insurer pays for professional drying and repairs above your deductible, and a professional drying log with moisture documentation makes your claim substantially harder to dispute.
For water events, speed matters because mold colonization starts within 24 to 48 hours in Austin’s climate. A professional restoration company should be able to dispatch a crew same-day or next-day. Dryden Restoration Austin answers calls 24/7 with a live person and can usually have a technician at an Austin home within hours for active water damage, not days. Call (361) 326-2081 the moment you notice the problem.
If the affected area is under 10 square feet, clean-water source, and dried within 24 hours, cleaning and spot-drying is often sufficient. Beyond those thresholds, or any Category 2 or 3 water, “just cleaning” leaves contaminated porous materials and hidden moisture in place, and you’ll pay for it later with mold remediation in Austin that costs more than the original restoration would have. The right answer changes with the size, category, and age of the water. A professional assessment is the fastest way to know which one you’re in.
In Texas, the policyholder is always the one who files the claim and works with the adjuster, but a restoration company can meet the adjuster on site, walk them through the drying log and documentation, and answer technical questions. That’s standard practice, and it’s part of what we do on every insured job. We coordinate with adjusters directly so you don’t have to translate industry terms or argue about moisture readings. After a fire damage restoration or water event, the adjuster’s ears usually perk up to documented data, and that’s what we hand them.
Mold spores can begin germinating on wet drywall, wood, or carpet within 24 to 48 hours when temperature and humidity support it, and Austin’s climate supports it most of the year. Visible mold growth typically appears within 3 to 7 days if materials remain wet. Faster drying is the only prevention, and professional equipment is what compresses that timeline from weeks to days.
The Bottom Line
The Austin homeowner’s decision between DIY and professional damage restoration comes down to three numbers: 10 square feet, Category 2 or 3, and 24 hours. Under all three, a capable DIYer with a rental dehumidifier and a plan can handle the job. Over any one of them, the math changes, and the cost of failure isn’t a drywall patch – it’s a mold remediation bill that arrives two months later and runs $1,500 to $8,000. Austin’s climate is unforgiving to slow drying. We’ve written this guide because the worst calls we get are from homeowners who tell us, “We thought we got it dry.” The drywall tells the real story, and it always does. Dryden Restoration Austin offers free estimates throughout Austin, with a written price before any work begins and a written 365-Day Done Right Promise on every repair. Call (361) 326-2081 and ask for Carl.
Written by Carl Brandt, Owner at Dryden Restoration Austin, serving Austin since 2005.
See the difference
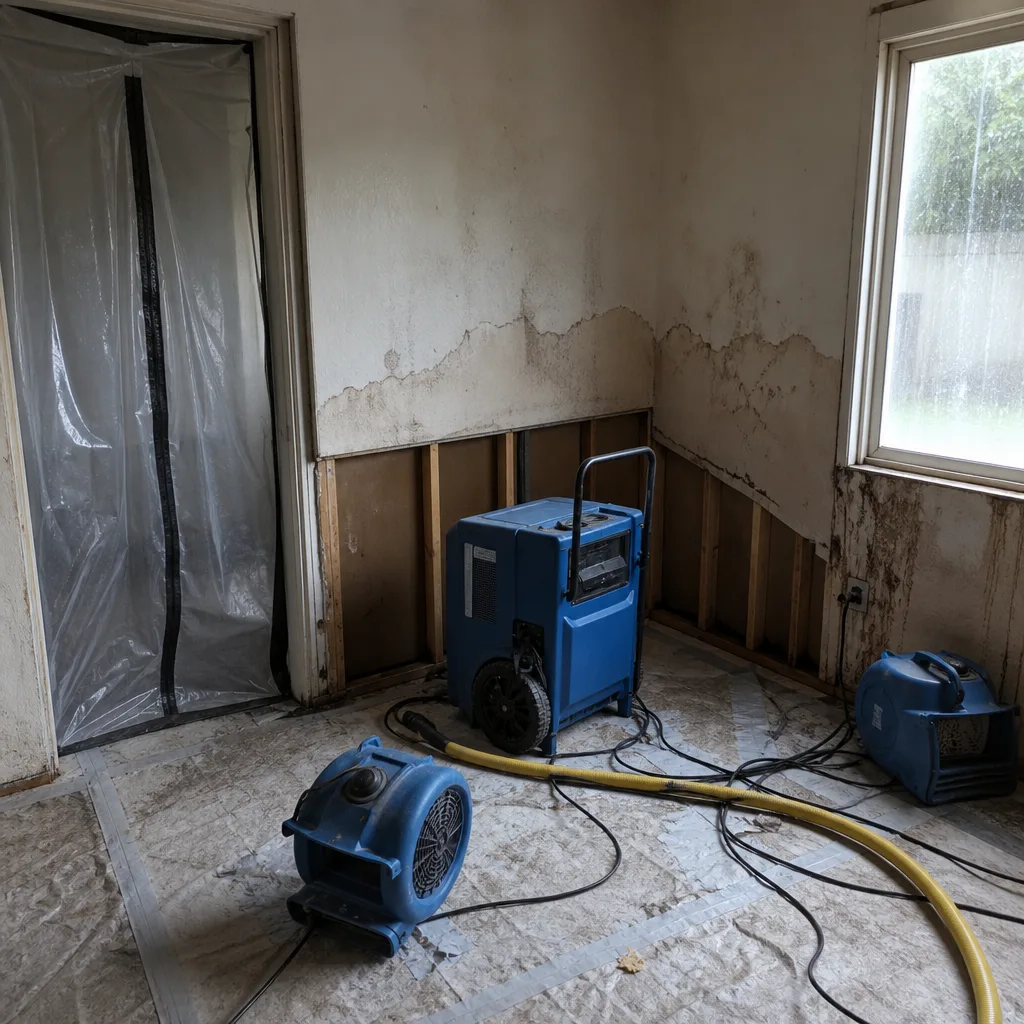 Before
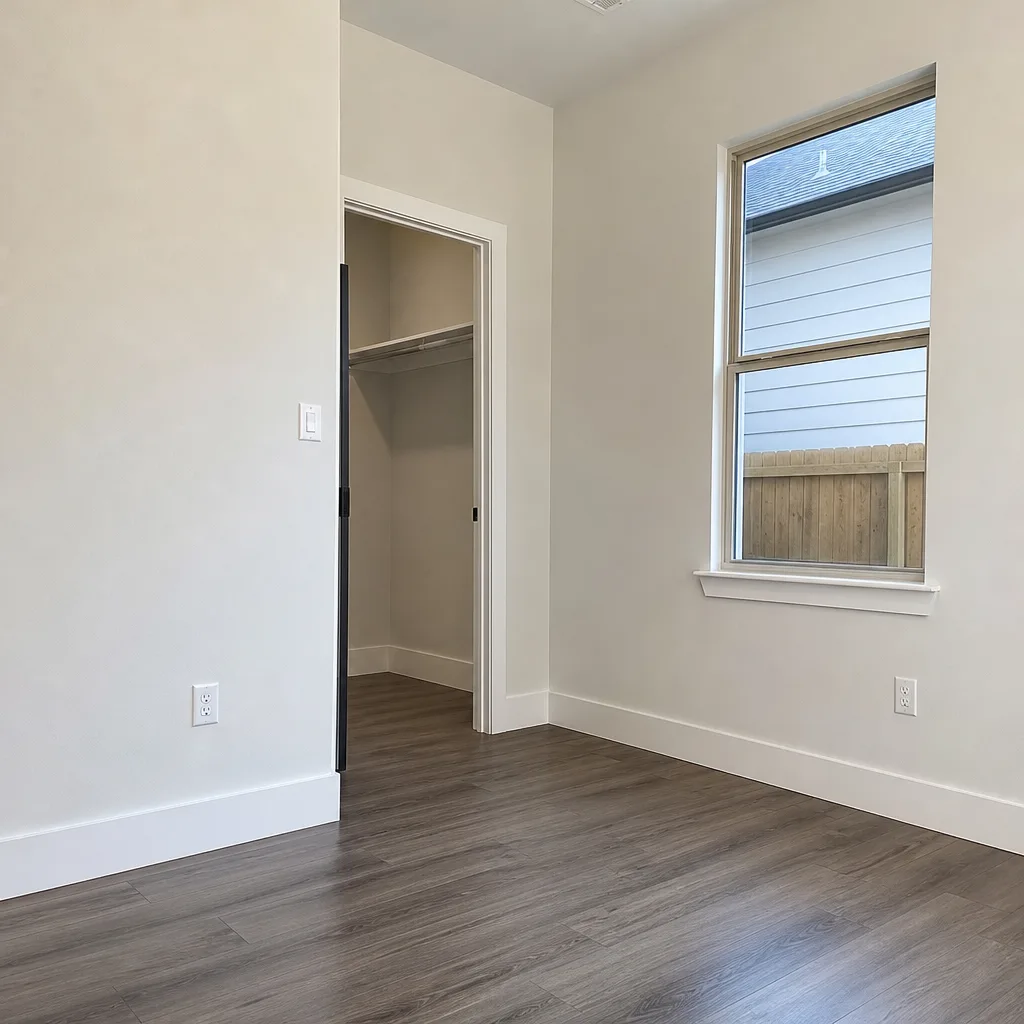 After
After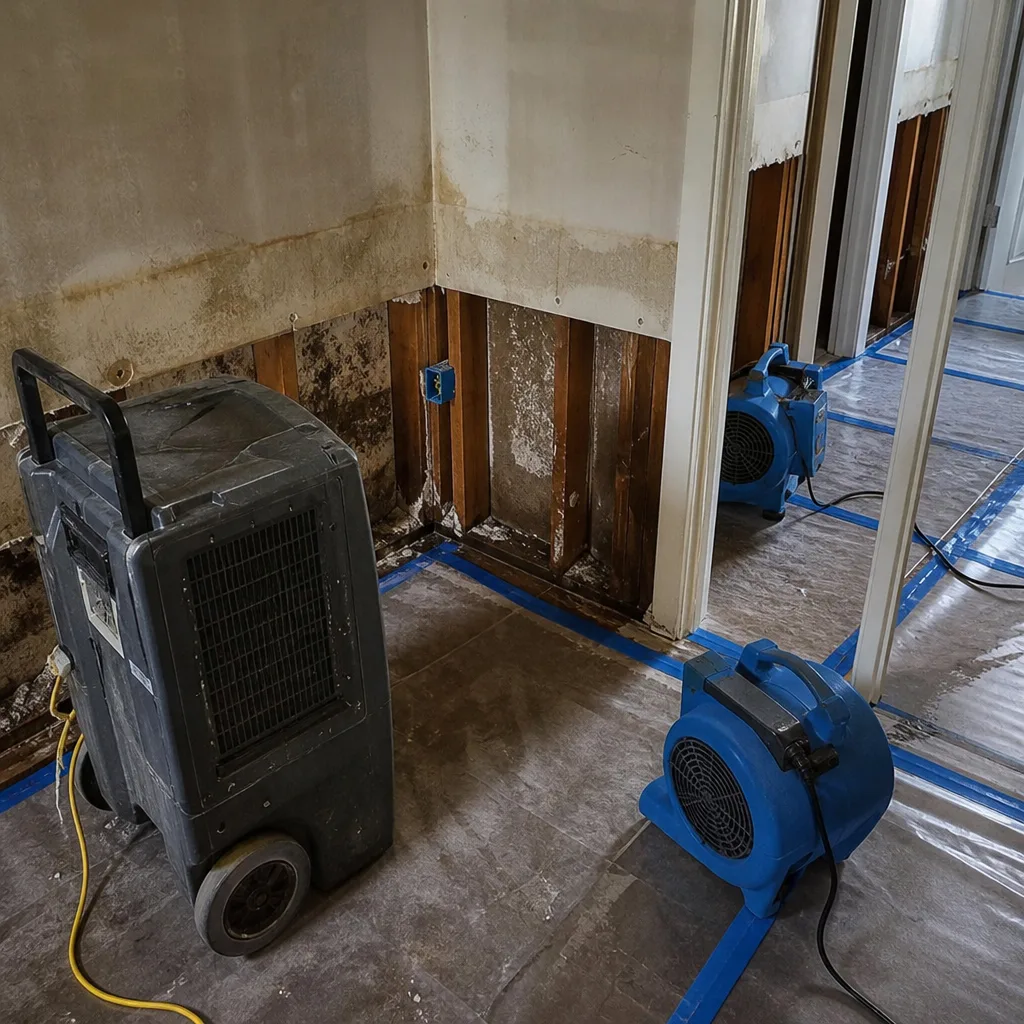 Before
 After
After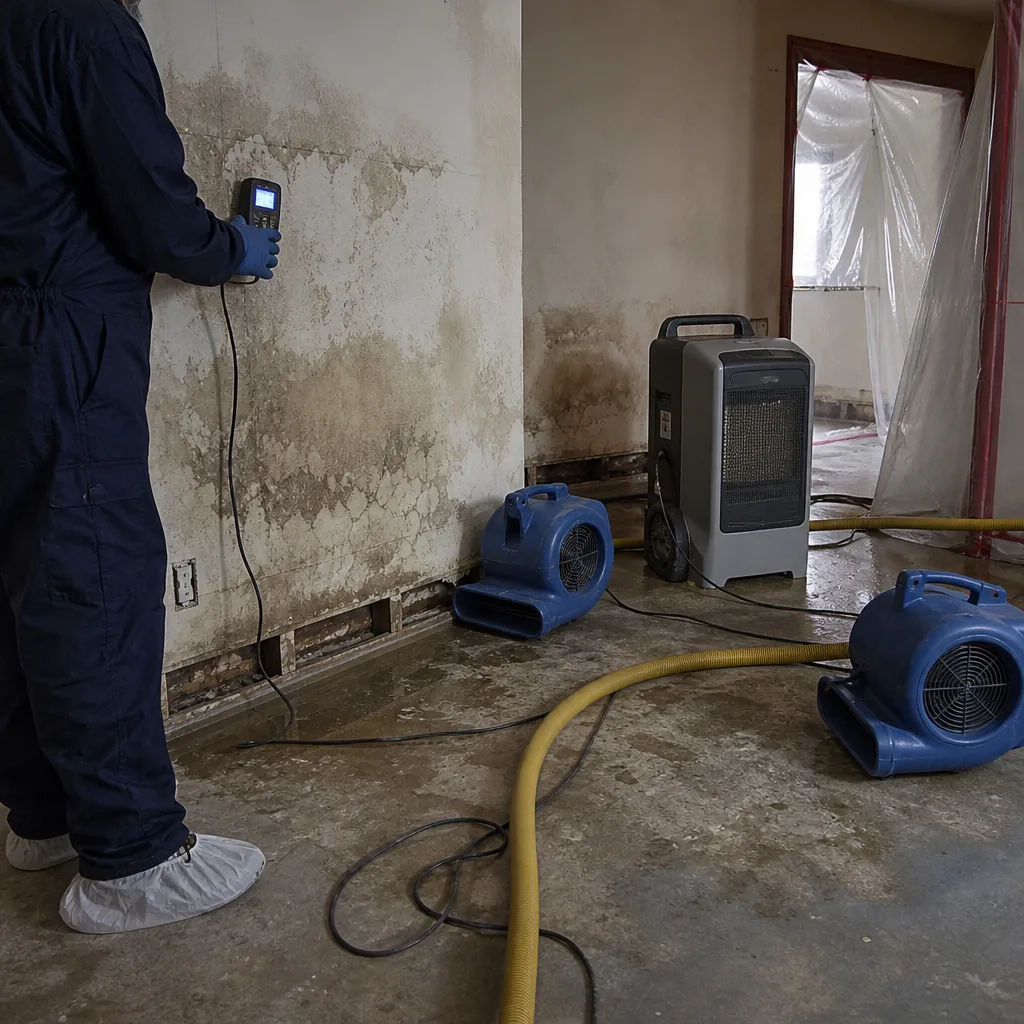 Before
 After
After